Safety First: Handling Electrical Repairs in Your Vehicle
Driving a vehicle today involves relying heavily on its electrical system. From starting your car to turning on the headlights and using the radio, electrical components play a vital role. However, when it comes to repairing these systems, safety should always be your top priority. This article will guide you through the essentials of handling electrical repairs in your vehicle safely and effectively.
Understanding the Basics of Vehicle Electrical Systems
What Comprises a Vehicle’s Electrical System?
Before diving into repairs, it’s essential to understand the components that make up your vehicle’s electrical system. The primary components include:
- Battery: Provides the initial power to start the vehicle.
- Alternator: Charges the battery and powers the electrical system while the engine is running.
- Starter: Initiates the engine’s combustion process.
- Fuses and Relays: Protect the electrical circuits from overloading and control the flow of electricity to various components.
- Wiring: Connects all the electrical components and allows the flow of electricity throughout the vehicle.
Common Electrical Problems in Vehicles

Like any other system, vehicle electrical systems can experience issues over time. Some common problems include:
- Dead battery
- Faulty alternator
- Blown fuses
- Worn-out wiring
- Malfunctioning switches or relays
Precautions Before Starting Electrical Repairs
Ensure Safety First
Before you begin any electrical repairs, it’s crucial to ensure your safety. Here are some safety precautions to follow:
- Always wear safety goggles and gloves to protect yourself from electrical shocks.
- Disconnect the vehicle’s battery to prevent accidental electrical shocks and short circuits.
- Work in a well-ventilated area to avoid inhaling toxic fumes from battery acid or other chemicals.
- Use insulated tools when working on electrical components to minimize the risk of electric shock.
Consult the Vehicle’s Service Manual
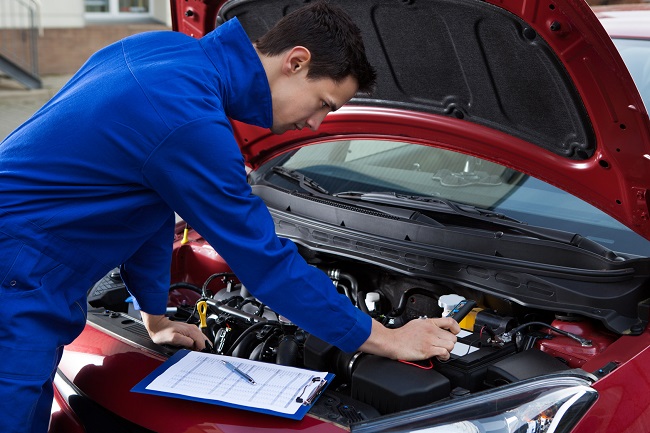
Every vehicle comes with a service manual that provides detailed information about its electrical system. Before attempting any repairs, consult the manual to understand the system’s layout, wiring diagrams, and troubleshooting steps specific to your vehicle.
Steps to Safely Perform Electrical Repairs
Identify the Problem
Start by identifying the specific electrical problem you’re experiencing. Is it a dead battery, a blown fuse, or a malfunctioning component? Knowing the issue will help you determine the best course of action.
Gather the Necessary Tools and Parts
Once you’ve identified the problem, gather the required tools and replacement parts. Some common tools you may need include:
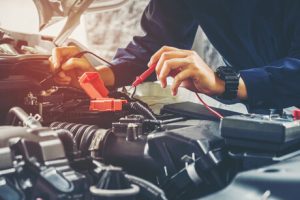
- Multimeter: For testing electrical circuits and components.
- Wire strippers and crimpers: For working with wiring and connectors.
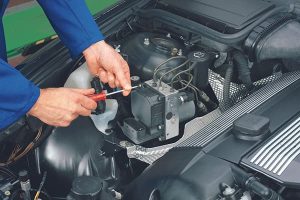
- Screwdrivers and wrenches: For removing and installing components.
- Fuses, relays, and wiring: For replacing faulty parts.
Follow Proper Repair Procedures
Follow the repair procedures outlined in the vehicle’s service manual or consult trusted online resources for guidance. Always disconnect the battery before starting any repairs and double-check your work to ensure everything is connected correctly.
Conclusion
Handling electrical repairs in your vehicle can be challenging, but with the right knowledge and precautions, you can do it safely and effectively. Always prioritize safety, consult your vehicle’s service manual, and follow proper repair procedures to maintain your vehicle’s electrical system’s integrity. Find our services here.

Remember, if you’re unsure about performing electrical repairs yourself, it’s always best to seek professional help from a certified mechanic.


