Effective Troubleshooting of Automotive Lighting Systems
Introduction
Automotive lighting systems are crucial components for safe driving, providing illumination for the driver and making the vehicle visible to other road users. However, like any other electrical system, they can encounter issues over time. Effective troubleshooting of these systems is essential for ensuring road safety and preventing accidents.
Understanding the Basics
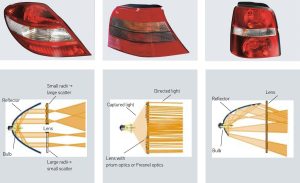
Before delving into troubleshooting techniques, it’s important to understand the basic components of automotive lighting systems. These typically include headlights, taillights, brake lights, turn signals, and interior lights. Each of these components relies on a combination of bulbs, wiring, switches, and fuses to function properly.

Common Problems
1. Bulb Failure
One of the most common issues with automotive lighting systems is bulb failure. Bulbs can burn out over time due to normal wear and tear, or they may be damaged by vibration or moisture. When troubleshooting bulb failure, start by visually inspecting the affected bulb for signs of damage or discoloration.
2. Electrical Issues
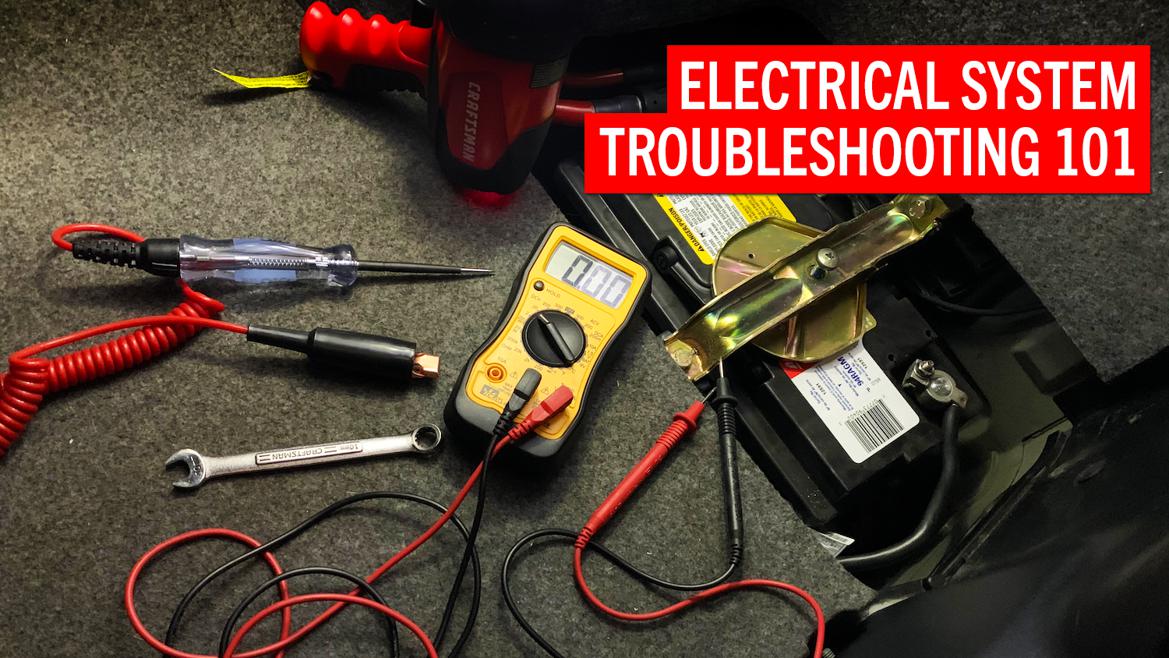
Electrical problems can manifest in various ways, such as flickering lights, intermittent operation, or complete failure. These issues are often caused by loose connections, corroded terminals, or faulty wiring. To diagnose electrical problems, use a multimeter to test the voltage at different points in the circuit.
3. Fuse Problems
Fuses protect the electrical system from damage caused by overloads or short circuits. If a particular light or group of lights is not working, check the corresponding fuse to see if it has blown. Replace any blown fuses with ones of the same amperage rating and investigate the underlying cause of the fuse failure.
Troubleshooting Techniques
1. Visual Inspection
Start by visually inspecting the exterior and interior lights for any obvious signs of damage or malfunction. Look for broken lenses, cracked housings, or burned-out bulbs. Also, check the condition of the wiring and connectors for signs of corrosion or damage.

2. Testing the Bulbs
If a light is not working, remove the bulb and inspect it for signs of damage or discoloration. Use a continuity tester or multimeter to check if the filament is intact. If the bulb is faulty, replace it with a new one of the correct type and wattage. https://gatesheadautoelectrics.com.au/
3. Checking the Switches and Controls
Faulty switches or controls can prevent lights from turning on or off properly. Test the operation of the switches for each light circuit and replace any defective switches as needed. Also, check the condition of the wiring and connectors connected to the switches.
4. Testing the Voltage
Use a multimeter to test the voltage at different points in the lighting circuit, including the battery, fuse box, switches, and light sockets. Compare the measured voltages to the specifications provided in the vehicle’s service manual. Any significant deviations may indicate a problem in the circuit.
Conclusion
Effective troubleshooting of automotive lighting systems requires a systematic approach and a good understanding of the underlying components and principles. By following the techniques outlined in this article, you can quickly identify and resolve common issues, ensuring that your vehicle’s lights are always in optimal working condition for safe driving.
By addressing these issues promptly, you can ensure that your vehicle remains safe and roadworthy, reducing the risk of accidents and ensuring compliance with safety regulations.
Remember, if you’re unsure about any aspect of troubleshooting or repairing your vehicle’s lighting system, it’s always best to consult a qualified mechanic or technician for assistance.


