Installing 4×4 Dual Batteries: Enhancing Your Off-Road Experience
Off-road enthusiasts understand the importance of reliable power when venturing into remote locations. Dual battery setups have become a popular solution for powering auxiliary devices and ensuring your vehicle starts when you need it most. In this guide, we’ll walk you through the process of installing 4×4 dual batteries, providing step-by-step instructions and essential tips.
Benefits of Dual Battery Systems
Before diving into the installation process, let’s explore why dual battery systems are advantageous for 4×4 vehicles:
- Extended Power: Dual batteries provide increased capacity, allowing you to run accessories like lights, winches, and refrigerators without draining the primary starting battery.
- Redundancy: If one battery fails, you still have a backup to start your vehicle, reducing the risk of being stranded in remote locations.
- Isolation: A dual battery isolator ensures that your primary starting battery remains charged for ignition, preventing accidental drainage from auxiliary devices.
Pre-Installation Checklist
Before starting the installation process, gather the necessary tools and materials:
- Two deep-cycle batteries
- Dual battery tray or mounting system
- Dual battery isolator
- Battery cables (sized appropriately)
- Wire cutters/strippers
- Wrenches and sockets
- Drill and bits
- Terminal connectors
- Protective gloves and eyewear
Installation Steps
Step 1: Choose the Mounting Location
Identify a suitable location in your vehicle to mount the secondary battery. Consider factors such as available space, weight distribution, and accessibility for maintenance.

Step 2: Install the Battery Tray
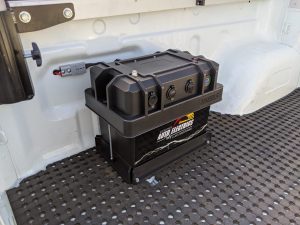
If your vehicle doesn’t already have a designated mounting point, install a battery tray or mounting system according to the manufacturer’s instructions. Ensure the tray is securely attached to the vehicle’s chassis.
Step 3: Connect the Batteries
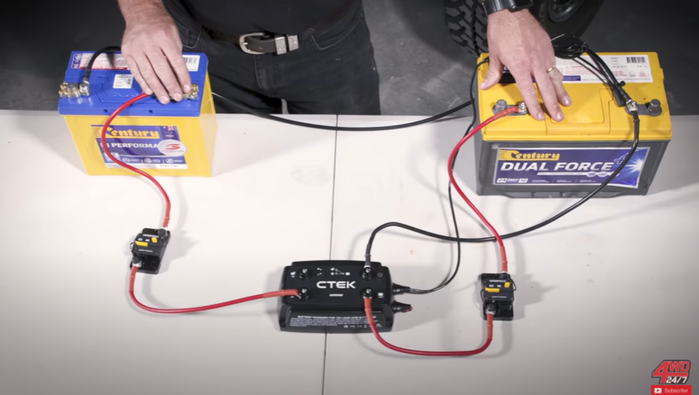
Connect the positive terminal of the primary battery to the positive terminal of the secondary battery using appropriately sized battery cables. Repeat this process for the negative terminals, ensuring a secure connection.
Step 4: Install the Dual Battery Isolator
Mount the dual battery isolator in a convenient location, preferably near the primary battery. Follow the manufacturer’s wiring diagram to connect the isolator to both batteries and the vehicle’s electrical system.
Step 5: Test the System
Before securing all connections, test the dual battery setup to ensure proper functionality. Start the vehicle and verify that both batteries are charging and discharging correctly.
Maintenance and Safety Tips
- Regularly inspect battery terminals and connections for signs of corrosion or damage.
- Keep the battery tray and surrounding area clean to prevent debris buildup.
- Use insulated tools and wear protective gear when working with batteries to avoid electrical shocks.
- Follow the manufacturer’s recommendations for battery maintenance and charging.
Conclusion
Installing 4×4 dual batteries is a worthwhile investment for off-road enthusiasts seeking reliable power solutions. By following this comprehensive guide and adhering to safety precautions, you can enjoy extended power capabilities and peace of mind during your adventures.
Remember to consult your vehicle’s manual and local regulations regarding battery installations, and don’t hesitate to seek professional assistance if you encounter any difficulties. For solar dual batteries for your car click here.
Happy trails!


